Friday, May 28, 2010

Zig Zag Rope Braid Updo

I thought this was kind of fun. For this one I started by parting her hair on the side all the way down. I then sectioned off this first ponytail starting about an inch down the part and going straight down. I put the elastic to one side. On the next ponytail I put the elastic on the other side. Then I took the hair from the first pony and made a rope and attached to the second. I continued this clear back. When I got to the crown of her hair I sort of angled the parts down towards her neck. I meant for this to be a side ponytail but it ended up pretty centered. I will have to try again. By alternating which side I put the ponytail on it created a zig zag. With the hair on the other side of the part I just combed it into the bottom ponytail. Then I made a messy bun. To top it off I added two adorable bright yellow daisies from snapbandz.com


Wednesday, May 26, 2010

Curlers...

Here are some pictures of my favorite new curlers...they are called Curlformers. They look fun while they're in and make beautiful curls. I like them because they are mesh and don't take too long to dry.


I also love to use plain old sponge curlers. Emma is a good sport and will wear them to bed. They make super tight curls! I just put them in when her hair is damp and I use a little bit of mousse.


Monday, May 24, 2010


Another fun picture I found on my cell phone. This was probably two years ago! Gotta love my feet in the picture. She looked so cute this day!

This one has four flip under ponies at the front. The hair from the middle two I split and made two braids. The outside two I just braided the hair. I also made four more flip under ponies behind the first four. I crossed the middle two braids to make an X and attached to the other ponies as shown. I braided the hair from the second set of ponies and attached to two pony tails at the bottom. It would have also been cute to cross the middle two ponies again at the bottom to make a second X. I braided the hair from the two big ponies and brought them back up and attached them with an elastic. I added some cute ribbons and left the ends sticking out. I hope that makes sense. Super cute!

12 piggies*6 links


I found these pictures that I had taken with my phone quite a while ago. Because I took them with my phone the quality is not so good. It's fun to see how long her hair used to be. We chopped off a lot but it is growing back FAST! I have loved having it shorter though...it feels super healthy now.

Anyway, here's how I did it.
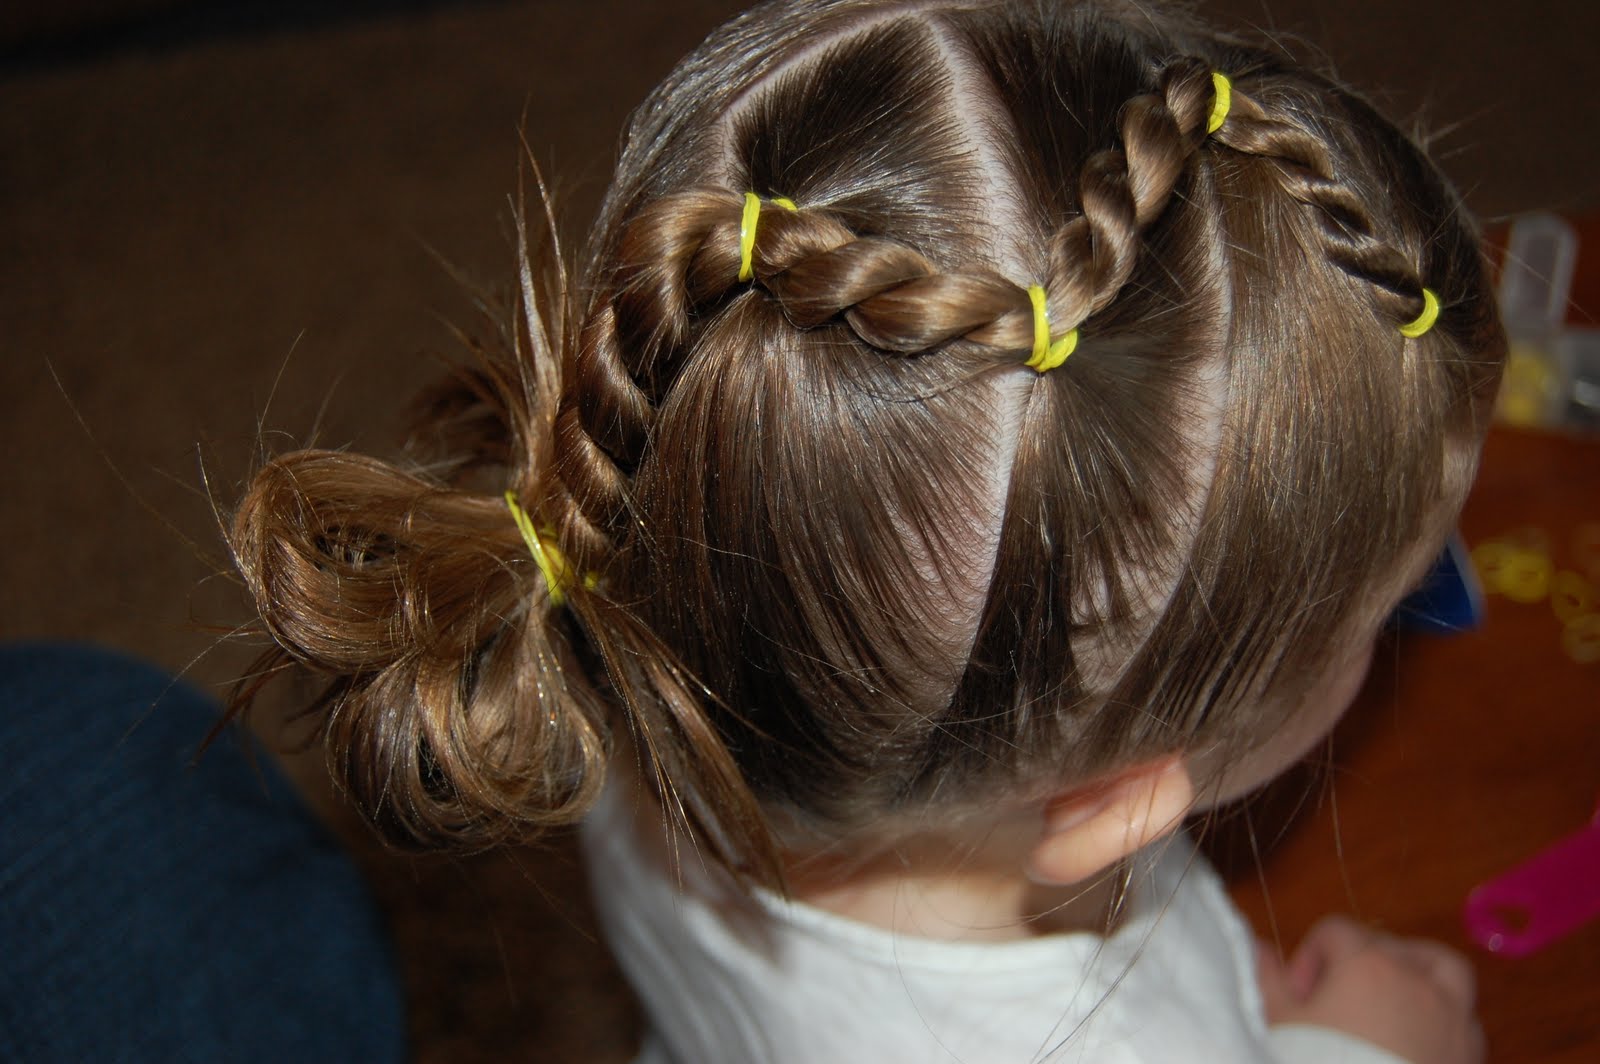
I started by parting the hair on the side to the crown at an angle. Then I made six ponies on each side of the part. Two in the front, two behind those, and then two at the crown. I then took the hair from the front two ponies on either side of the part and "linked" them together. You do it just like you are going to tie a shoelace. Then attach the ends to the next two pony tails and repeat. Do the same thing on the other side of the part. When I was finished I decided to add the hair at the end together in one pony. I also used my 3 barrel curling iron on this. I love the way it looks...but it is a little tricky to use. I topped it all off with a Moss Green Spider Gerb from Snapbandz.com

Six Braids*Two Ponies* Updo


This turned out really cute! I just started with 3 flip under ponies in the front and braided the hair on each. I attached the 3 braids to the top half of her hair in a pony. I did a mirror image of the same thing on the bottom. 3 flip under ponies at the base of her neck, braided the hair and attached to bottom half of her hair in a pony. This created two large ponies right next to each other. By doing this I was able to curl the hair and make it look much more full. I just used a regular old curling iron this time. I used bobby pins and pinned up some of the longer strands. To top it off I finished with an adorable pink ranuncula from Snapbandz.com Hope you enjoy!