.jpg)
.jpg)
.jpg)


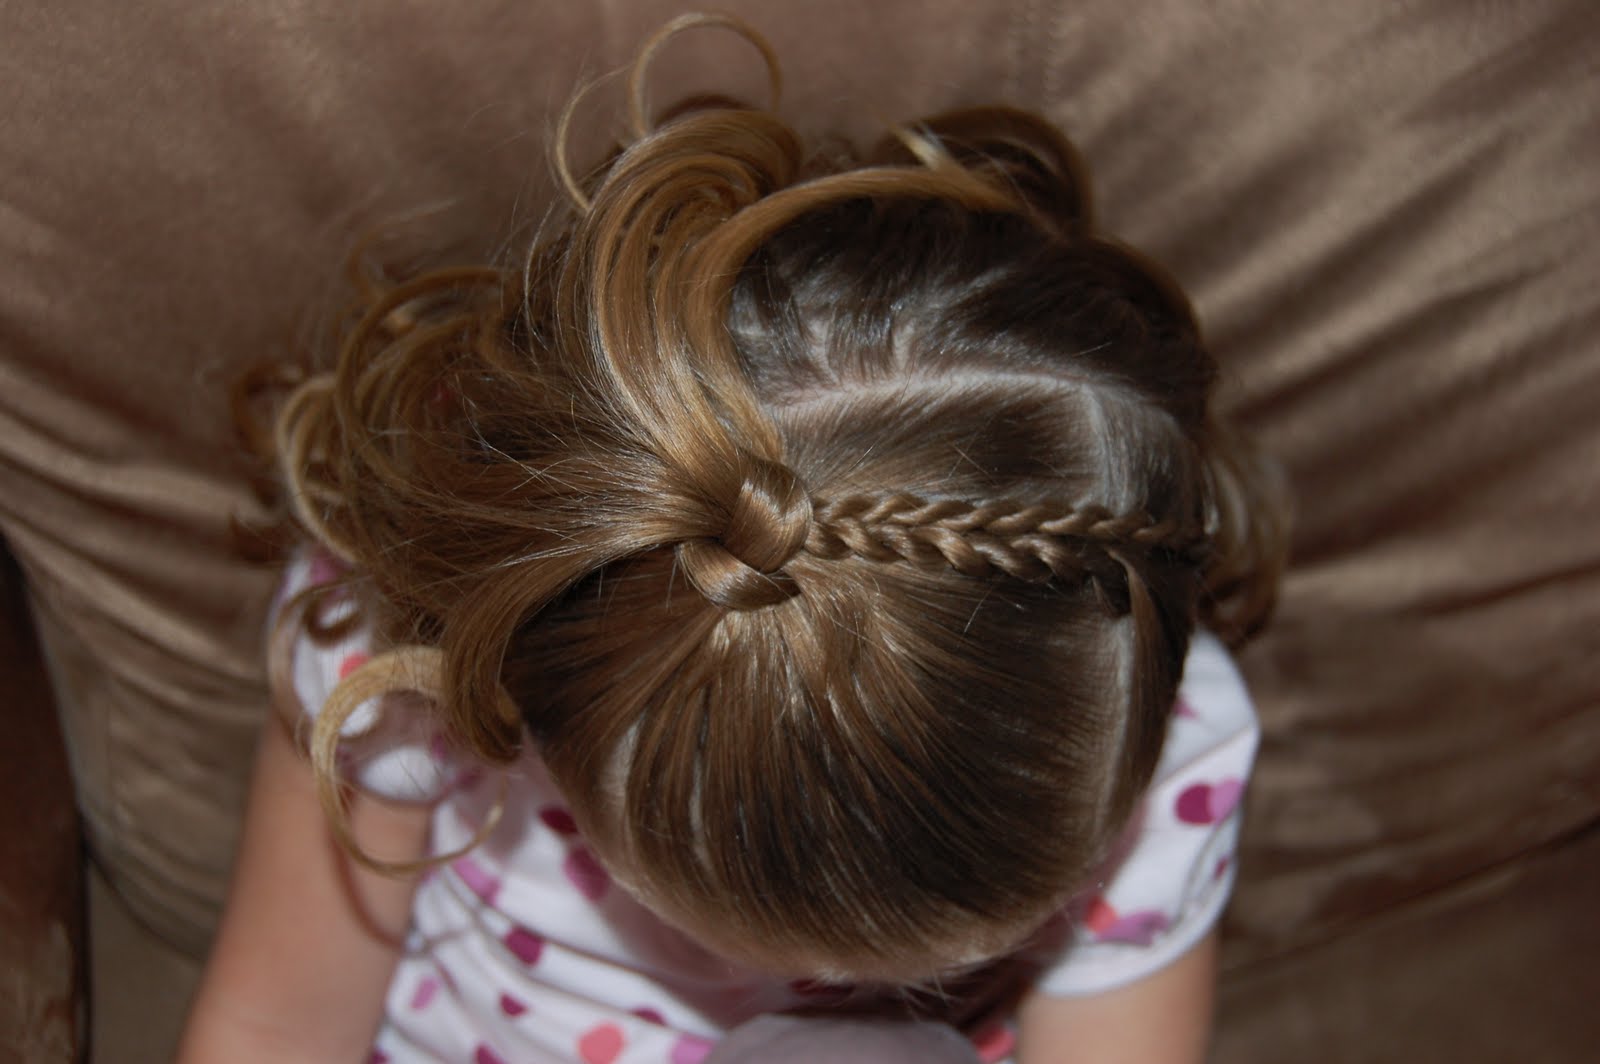
 We are loving M's new short hair! There are still lots of things you can do with shorter hair. For this we started by parting the hair on the side but close to the center. We combed it to the side and parted from the crown of her head to her ear and added an elastic. We left the elastic a little loose so we could flip it under later. Next we went about an inch or so from the first part and made another. With this hair you will make a braid. It works best with damp or wet hair and I use a little hairspray as well. Comb the hair towards the ponytail and start a plain 3 strand braid. You can also do a twist. This is very similar to another hairdo we did when her hair was longer. Add the 3 strand braid to the pony with another small elastic and then flip under. You can use a "topsy tail" or something to flip it but I usually just use my pinky finger. ;) We used the straightener to curl the ends of her hair under a little. We finished off the look with a deep pink daisy from snapbandz.
.jpg)
.jpg)
.jpg) Here is Miss M's Valentine do for 2013. I started by getting the hair damp and parting it on the side. Then I parted it on the opposite side to make a box on the top of her head. Using the back of my comb I "drew" a heart inside the box created a heart shaped part. Get it? Then I combed it into a ponytail at the bottom of the heart and loosely put in an elastic. To do the heart shape you want to flip the hair up using a topsy tail, rait tail comb or your pinky finger. I had my daughter hold this hair out of the way as I combed the rest of the hair into a side ponytail. Then I sectioned the top pony tail into two pieces. Each side makes a rope. Remember to do the rope just twist both pieces of hair the same direction and together the opposite direction. This definitely works better with damp hair and I use a little bit of hairspray as well. After I did the first rope I had my daughter hold it as I did the second. Then I took both ropes and brought them down to the bottom pony tail and secured with an elastic. I used short bobby pins to pin the ropes down and to create a heart shape. I took a long section of hair from the pony and wrapped it around to cover the elastic and secured with a small clear elastic and pulled tight. The cute little ribbon hearts were so easy to make. They are just glued to a bobby pin! I stuck them in and used a second bobby pin creating an "x" to make sure they held all day. To finish it off I used my straightener and curled the pony tail a bit. I bet she gets lots of compliments at school today! Happy Valentines Day everyone!
Here is Miss M's Valentine do for 2013. I started by getting the hair damp and parting it on the side. Then I parted it on the opposite side to make a box on the top of her head. Using the back of my comb I "drew" a heart inside the box created a heart shaped part. Get it? Then I combed it into a ponytail at the bottom of the heart and loosely put in an elastic. To do the heart shape you want to flip the hair up using a topsy tail, rait tail comb or your pinky finger. I had my daughter hold this hair out of the way as I combed the rest of the hair into a side ponytail. Then I sectioned the top pony tail into two pieces. Each side makes a rope. Remember to do the rope just twist both pieces of hair the same direction and together the opposite direction. This definitely works better with damp hair and I use a little bit of hairspray as well. After I did the first rope I had my daughter hold it as I did the second. Then I took both ropes and brought them down to the bottom pony tail and secured with an elastic. I used short bobby pins to pin the ropes down and to create a heart shape. I took a long section of hair from the pony and wrapped it around to cover the elastic and secured with a small clear elastic and pulled tight. The cute little ribbon hearts were so easy to make. They are just glued to a bobby pin! I stuck them in and used a second bobby pin creating an "x" to make sure they held all day. To finish it off I used my straightener and curled the pony tail a bit. I bet she gets lots of compliments at school today! Happy Valentines Day everyone!